Once you've created a blog, you can create blog posts, either from scratch or imported from an external blog or Google Doc. You can customize blog content and settings and optimize blog posts for search engines.
Create blog posts
- In your HubSpot account, navigate to Marketing > Website > Blog.
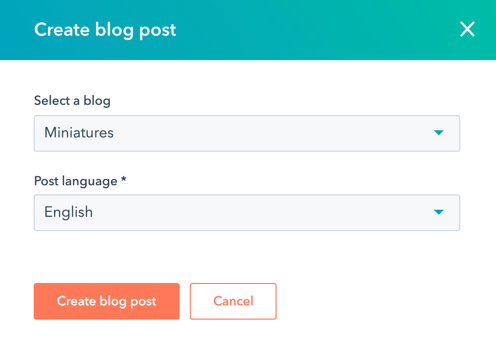
- In the upper right, click Create, then select Blog post.
- In the dialog box, click theSelect a blogdropdown menu and select a blog, then clickCreate blog post.
- In the content editor, click theBlog contentmodule and add content to your post. You can edit formatting of your blog content in the rich text toolbar.
- To set the length of the post summary that displays on your blog listing page, you can insert a r ead more separator:
- Click theBlog contentmodule.
- In the rich text toolbar, click theInsertdropdown menu and selectRead more separator.
- Click theMore separator and drag it to the desired position in the blog post.
- Depending on the template your blog uses, you may be able to edit other modules as well. Learn more about selecting a template for your blog.
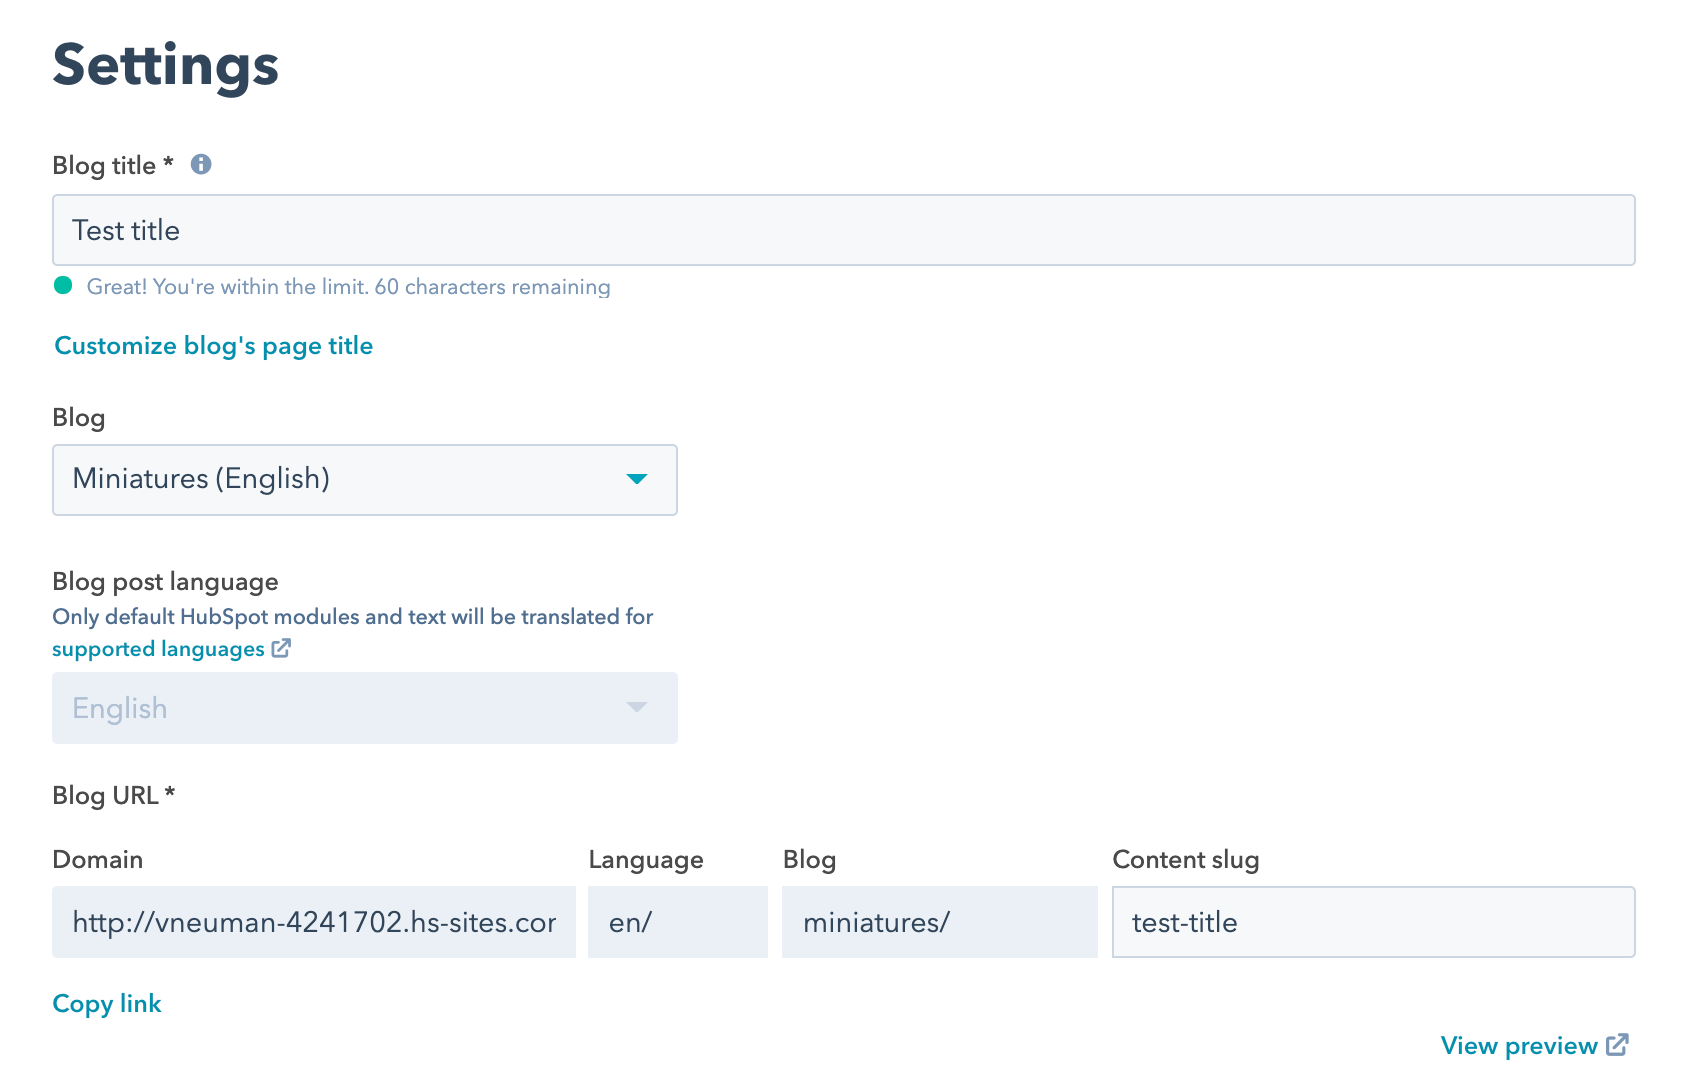
- To customize the post's settings, click the Settings tab at the top of the content editor, then edit the settings:
- In theBlog titlefield, enter thenameof the blog post. This name will appear at the top of the post, as well as on its tab in the visitor's browser.
- To move the post to a different blog, click theBlogdropdown menu and select ablog. Once you publish this change, the URL of the post will automatically change to reflect its new destination. A redirect will be put in place from the post's previous URL.
- To switch the post's language variation, click the Blog post languagedropdown menu and select alanguage. Learn more about creating blog posts in multiple languages.
- In theBlog URL section, click theContent slugfield to automatically turn the post's title into a URL slug. To customize the URL, enter a new URL slug in theContent slugfield. Learn more about editing a blog post's URL.
-
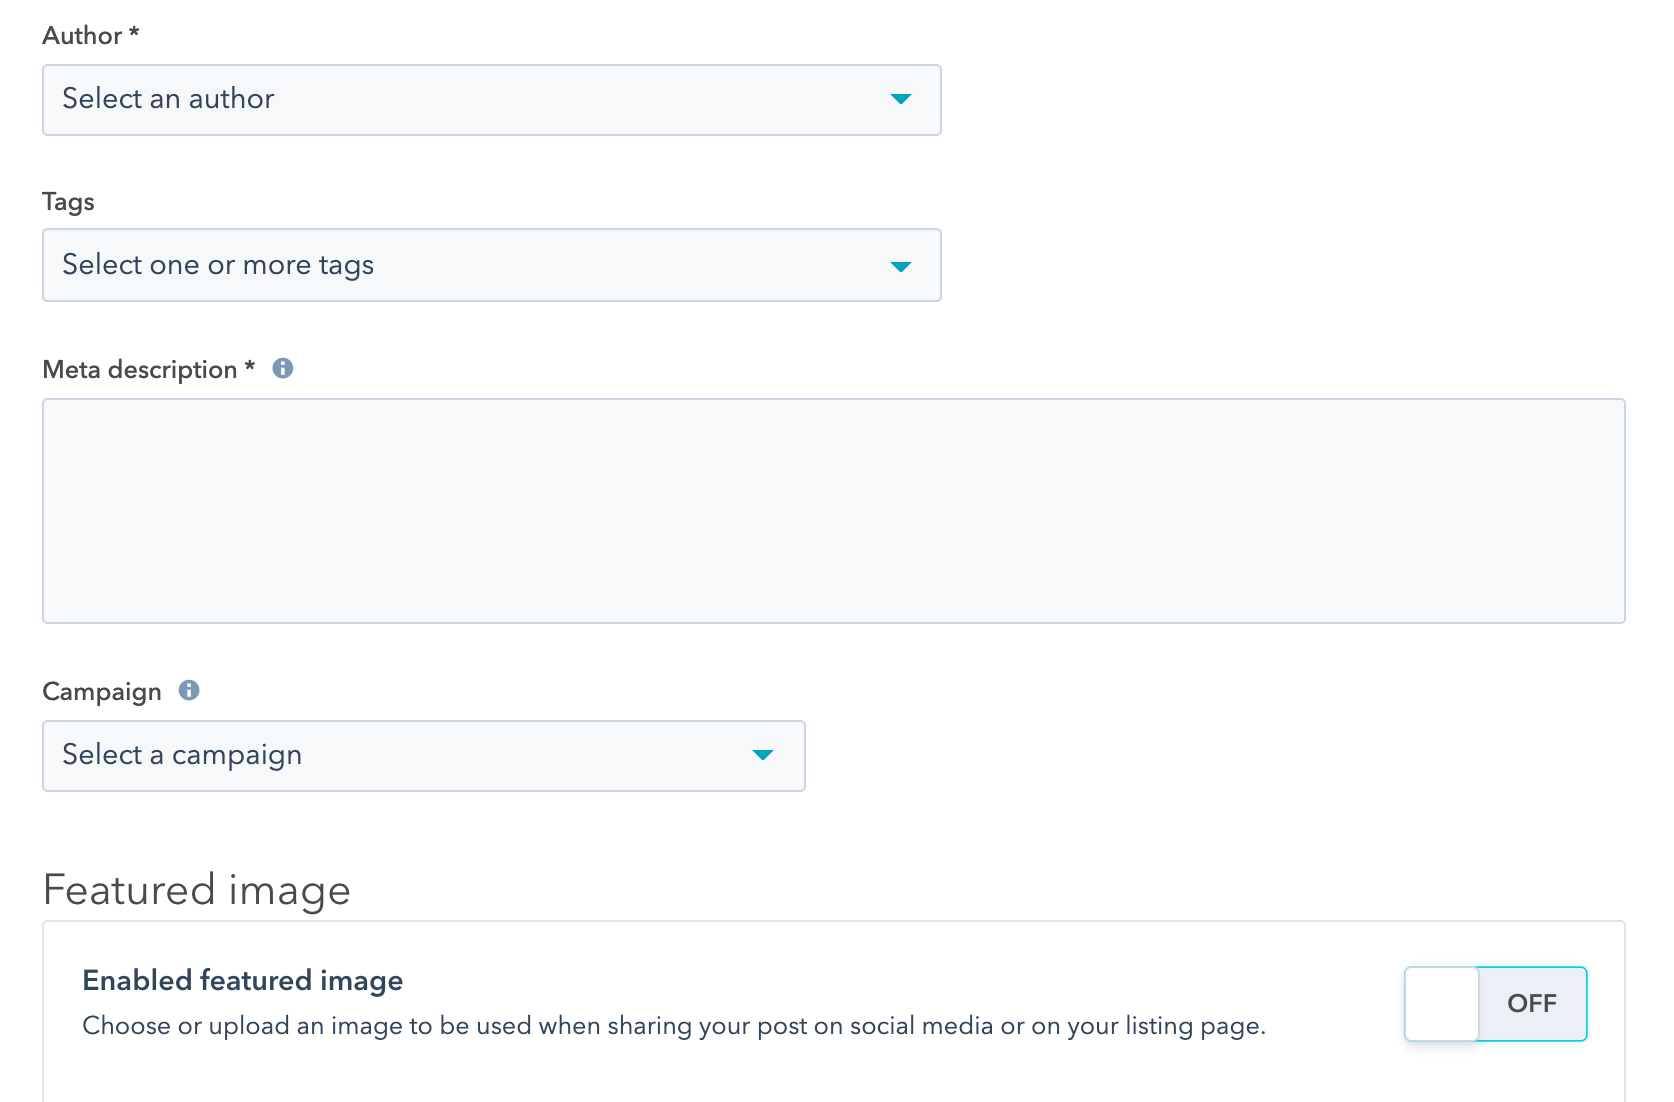
- To set an author for the post, click the Author dropdown menu and select an author. Learn more about managing blog authors.
- To add an existing tag to the post, click theTagsdropdown menu and select thetag. To add a new tag, click theTagsdropdown menu, then type the tag into the field and click Add "[name of your new tag]" tag. Learn more about managing blog tags.
- In theMeta descriptionfield, enter adescriptionof the post's content that will appear in search results below the post title.
-
- To associate the post with a campaign in HubSpot, click the Campaigndropdown menu and select acampaign. To create a new campaign instead, selectAdd new. Learn more about working with campaigns in HubSpot.
- To add a featured image that will be included when the post is shared on social media, click to toggle the Featured image switch on. Click Upload to select an image from your computer, or Browse images to select an image from the files tool.
-
- To customize more advanced settings like the blog template, notification emails, and head HTML, click to expand the Advanced options section. Learn more about customizing advanced options.
- To attach a topic or subtopic keyword to your post and view SEO recommendations, click the Optimize tab. Learn more about optimizing content for search engines.
- Before you take your post live, you can preview it by clicking Preview in the top right. Learn more about previewing blog posts.
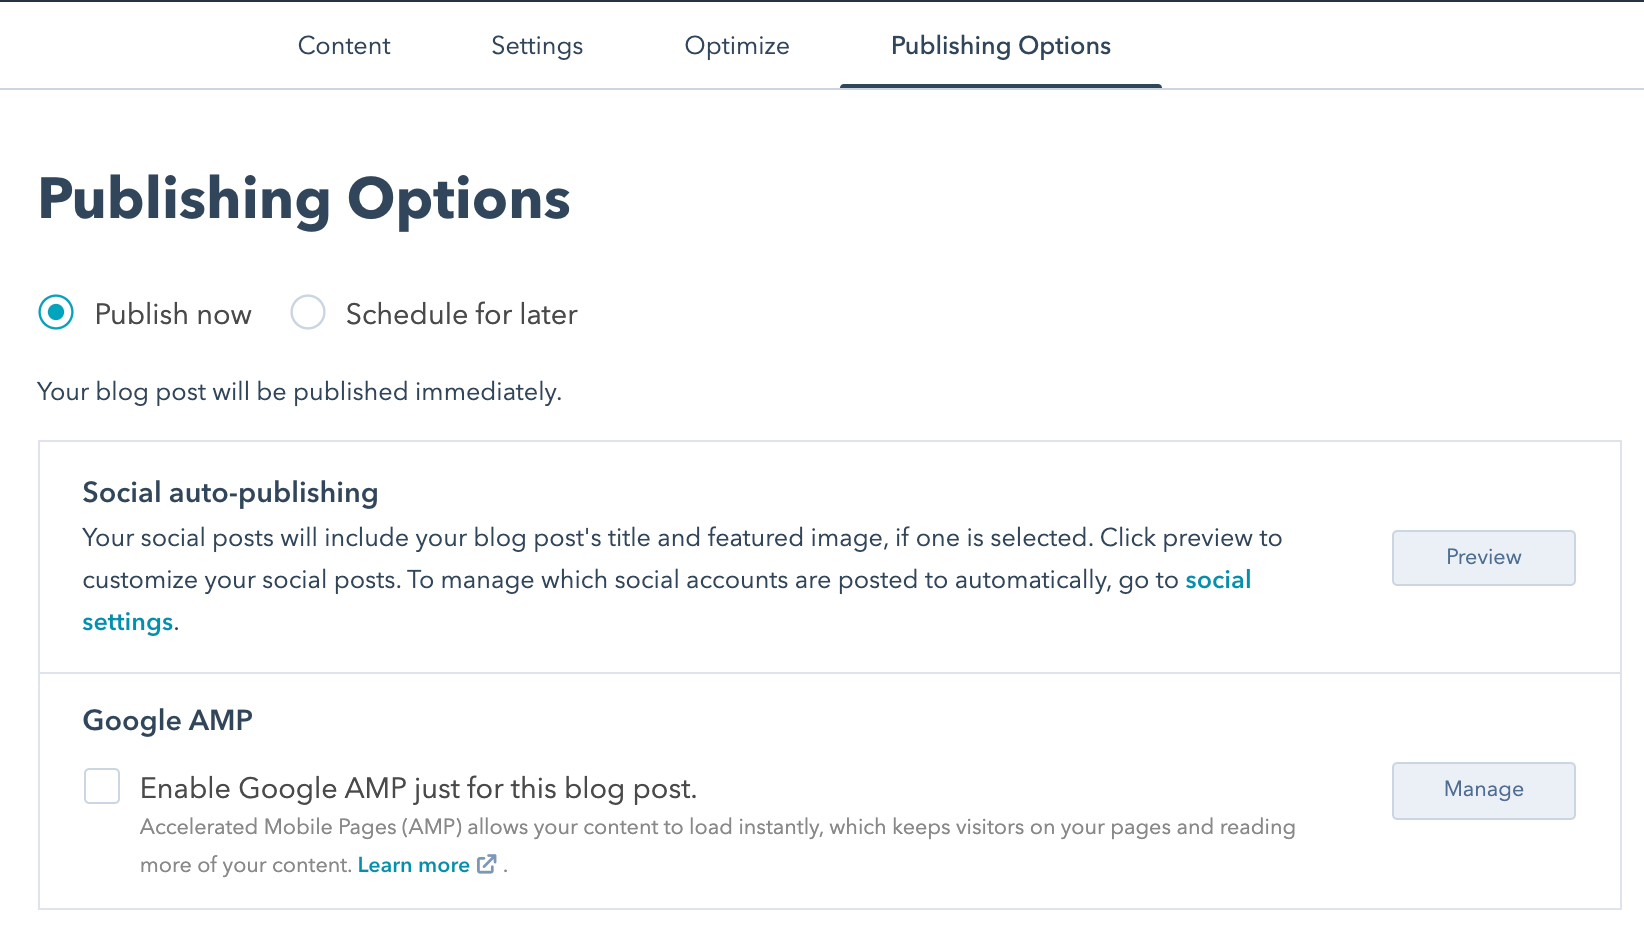
- Once you've customized your post's content and settings, click the Publishing options tab, then set your publishing options:
- To publish the post now, select the Publish now option.
- To publish your post in the future, select the Schedule for later option. In the fields that appear, select a date and time to publish your post.
- To customize what the post will look like in social posts, clickPreviewin theSocial auto-publishingsection. Learn more about sharing blog posts on social accounts.
- To generate an Accelerated Mobile Pages (AMP) version of this blog post, select theEnable Google AMP just for this blog post checkbox. If Google AMP has been turned on in settings for the whole blog, this option will not appear. Learn more about managing Google AMP for your blog.
- When you're ready to take the post live or schedule publishing, click Publish or Schedule in the top right.
To make edits to an existing post, navigate to Marketing > Website > Blog. Hover over the post, and click Edit. When you've made your edits, click Update or Schedule in the top right.
Import blog content from Google Docs
You can import pre-written blog content into the content editor from a Google Doc in a connected Google account. Google Docs shared with you by other users cannot be used.
- In your HubSpot account, navigate to Marketing > Website > Blog.
- Hover over a post and click Edit, or create a new post.
- In the content editor, click theBlog content module.
- In the rich text toolbar, click the Advanceddropdown menu and select Import Google Doc.
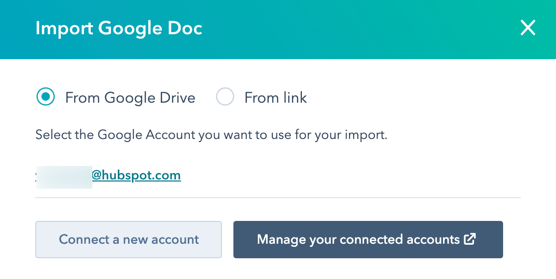
- To select the Google Doc from the files in your Google Drive:
- If your Google account does not appear, clickConnect a new account. In the dialog box, clickAccept and connect to Google. On the Google authorization page, select aGoogle account. then clickAllow. When you start the import process again, your account should be selectable.
-
- In the Select the Google account you want to use for your import section, click the connected Google account that owns the Google Doc.
-
- In the dialog box, select aGoogle Doc, then click Select.
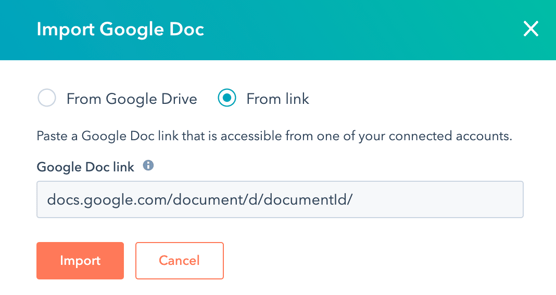
- To import the Google Doc using a link:
- In the dialog box, select theFrom link option.
- In the Google Doc linkfield, paste theURLof your Google Doc. The URL must be formatted like docs.google.com/document/d/documentId/ or drive.google.com/open?id=documentId.
- ClickImport.
- In the content editor, finish editing the blog post.
Please note: blog content imported from Google Docs will preserve some of its original formatting. Learn more about importing formatting from Google Docs.
- In the top right, clickUpdate orPublish to take your changes live.
Optimize blog posts for search engines
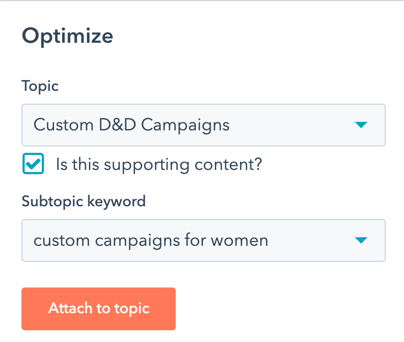
On theOptimizetab of the content editor, you can view a post's SEO recommendations or attach it to a topic.
- In your HubSpot account, navigate to Marketing > Website > Blog.
- Hover over a post and clickEdit.
- In the content editor, click the Optimizetab.
- If the post is attached to a topic or subtopic, they will appear in the sidebar editor. Learn how to attach content to a topic or subtopic.
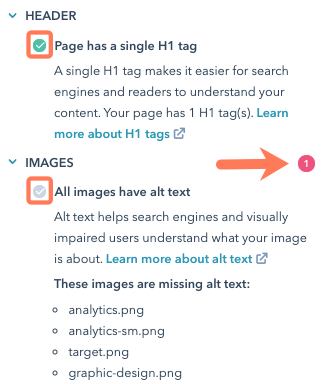
- To view incomplete SEO recommendations, click acategorywith a red circle in the sidebar editor. Each completed recommendation will have a green checkmark. Each incomplete recommendation will have a grey checkmark. Learn more about SEO recommendations.
Customize advanced blog options
- In your HubSpot account, navigate to Marketing > Website > Blog.
- Hover over a post and clickEdit.
- In the content editor, click the Settings tab, then clickAdvanced options.
- To add code snippets to the head HTML of this post, click the Head HTML field, then enter yourcode snippet. To add code snippets to all posts on a blog, access your blog settings.
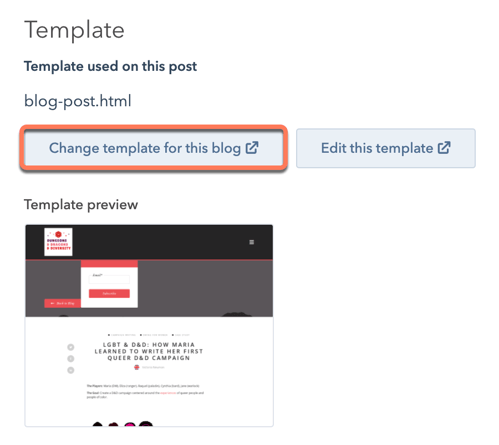
- To switch the template used for this blog, clickChange template used for this blog in theTemplatesection.
Please note: changing a blog's post template will change the template used for all posts on that blog. Unique templates cannot be applied to individual blog posts.
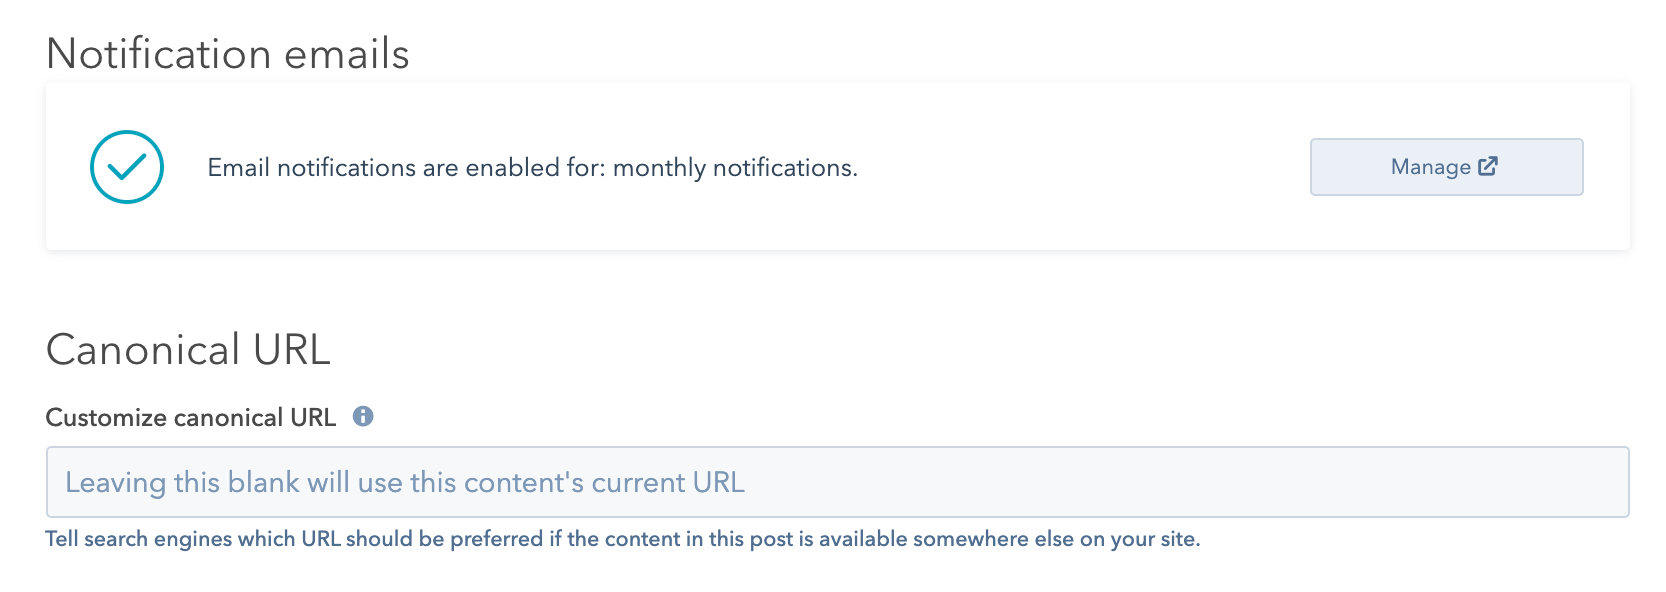
- TheNotification emailssection will display which blog subscription emails are currently turned on for this blog. To change the blog's subscription email settings, clickManage.
- To add a custom canonical URL, enter theURLin theCustomize canonical URLfield. Learn more about using canonical URLs.
Preview blog posts
Before publishing a post, you can preview it on different device types and test smart content and personalization.
- In your HubSpot account, navigate to Marketing > Website > Blog.
- Hover over a post and click Edit.
- In the content editor, clickPreviewin the top right.
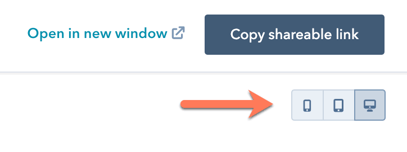
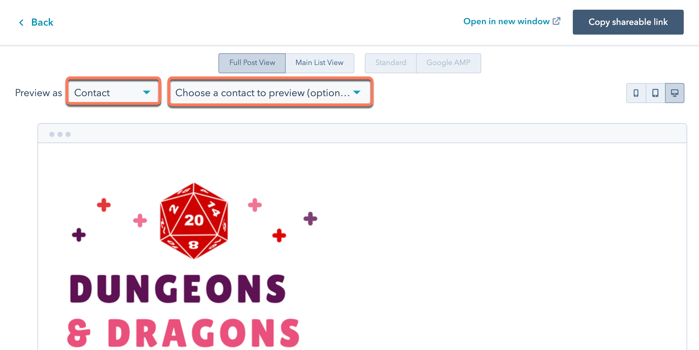
- To access a full page preview, clickOpen in new windowin the top right. To share this preview page with other users in your HubSpot account, click Copy shareable link on the preview page. Users must be logged into HubSpot to view this preview.
- To preview the post on a different device, click a mobiledevice iconin the upper right of the preview page.
- To preview the blog post itself, selectFull Post Viewat the top of the page. To preview the post on the listing page, selectMain List View.
- If you have Google AMP turned on for this blog post, clickGoogle AMPat the top of the page to preview the AMP version of the post. To return to the regular view, clickStandard .

- To preview personalization or smart content, click thePreview asdropdown menu:
- Select C ontactto preview the post's personalization. Then click the second dropdown menuand select acontactto preview how the post would appear for that contact.
- SelectSmart ruleto preview the post's smart content. Then click the second dropdown menu and select one or moresmart rules to preview how the post would appear for a visitor matching those rules.
Blog


0 Response to "How To Install Swifttwpe In Hubspot Blog"
Post a Comment